I had an idea to get a couple of large cardboard letters and try to make them look kinda old, so I went to Joanne's Craft Store and purchased the large cardboard letter for $8 and the small one for $4. In addition, I bought white and antique acrylic paint (the antique will have hues of yellow and a little bit of brown), a paddle sponge, various scrapbook supplies (bling, bling, and more bling), and plain ol' glue.
Step one: Grab glue and make designs all over the cardboard! Make sure that the glue is raised so it has texture when you paint the letters. I grabbed a pillow of mine that matches my bedding to try to replicate the pattern so that the letters would tie into my decor. In addition, make sure that you figure out a place that you want to cluster all of the scrapbook stuff. Do not put glue in this area- it will be insanely difficult to get anything to stick!

Another angle of the "S." Once again, make sure the glue is raised!

Wait for the glue to dry...fun, I know.
Continue to wait for the glue to dry.
And continue waiting for the glue to dry.
Once the glue has dried (snore), place your white paint and antique paint side by side. take the sponge paddle paint thingy, and dab right in between the two. Make sure that you do not dab the paint on thick.
After you have used the two paints combined, take the white paint and dab over the first layer. After that, take the antique paint and just accent the areas of glue. After the paint has mostly dried, take a sheet of newspaper and rub it all over the letters. You will have some areas of grayish shading, which gives it that antique-y look! :)

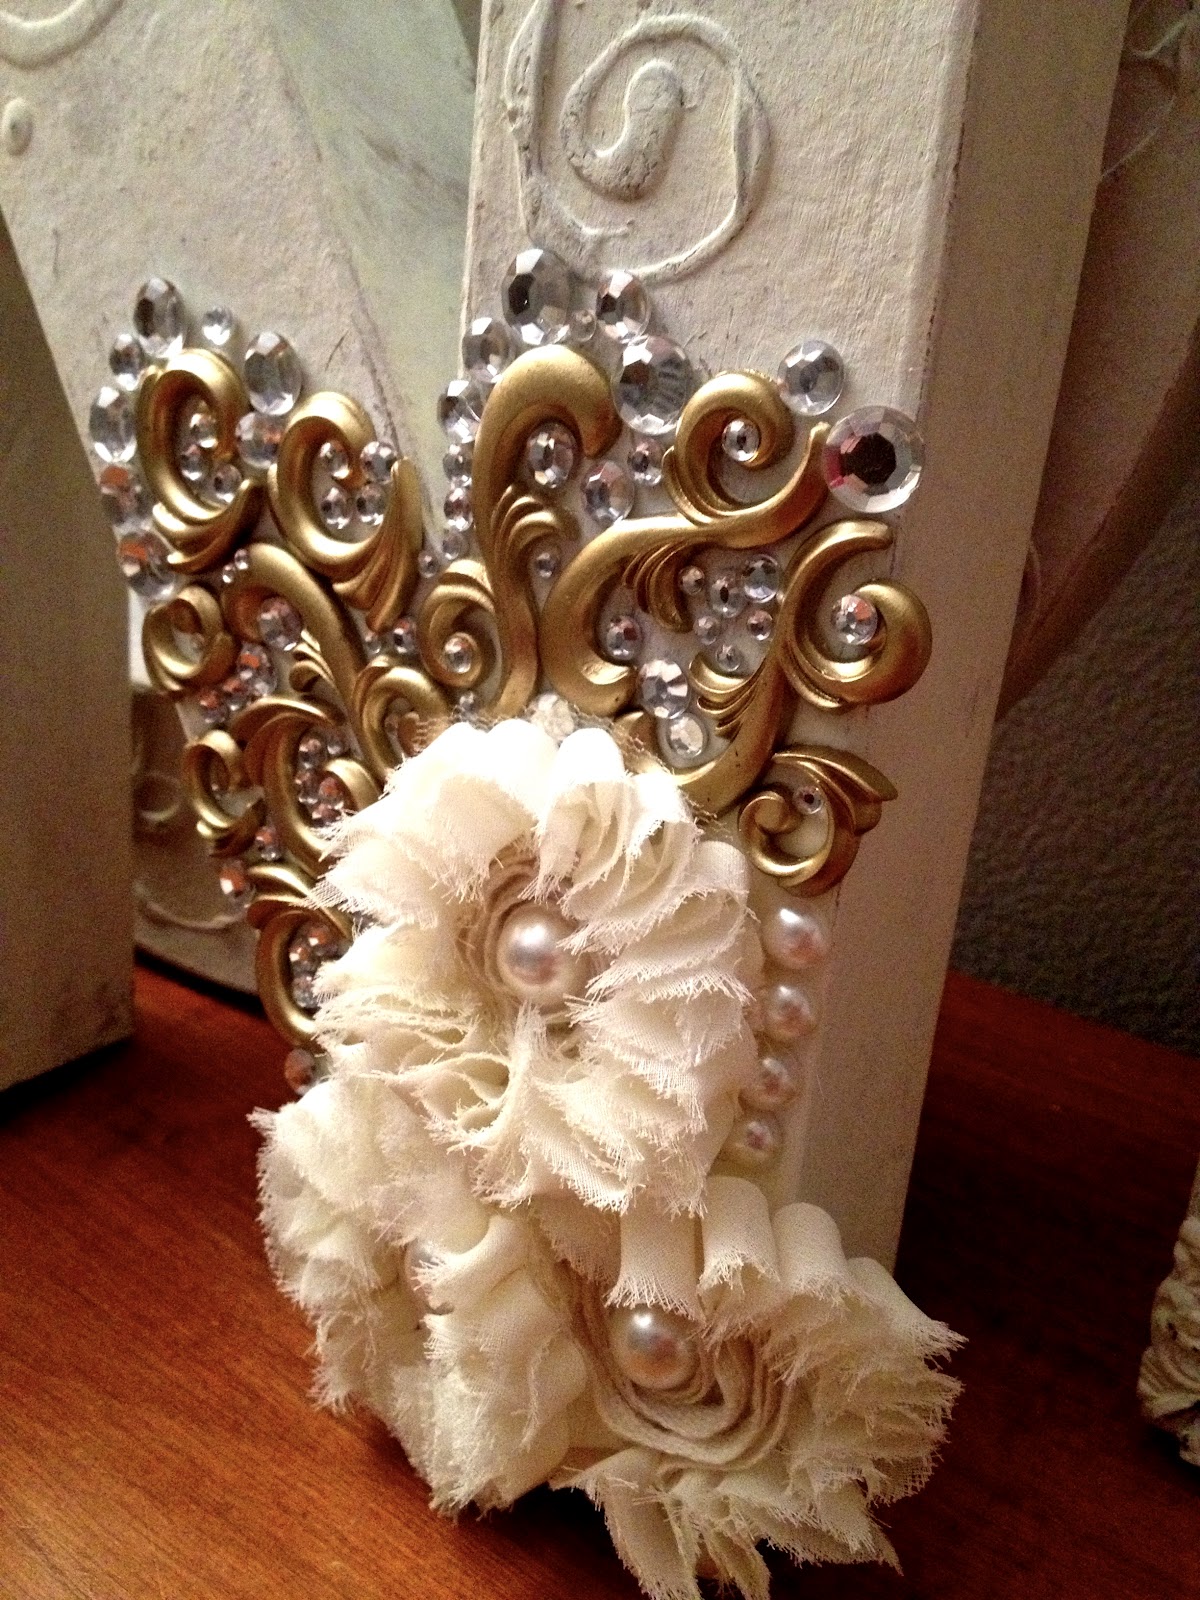
When the paint has dried (snore again), get ready to add the fun stuff! I took 3 flowers ($2), a pack of gold scroll-y things ($3), button pearls ($2), and bling ($3) to design the bottom of my N! Make sure you design before you stick.
Below is the finished product! They look super cute on a dresser, shelf, or wall (make sure you use command strips)!
Have fun!!

Happy Creating!
Sarah
No comments:
Post a Comment